Announcement

Collapse
No announcement yet.

Chris' Build

Collapse
X
 
  • Filter
  • Time
  • Show
Clear All
new posts

  • Chris' Build

    Hi guys,

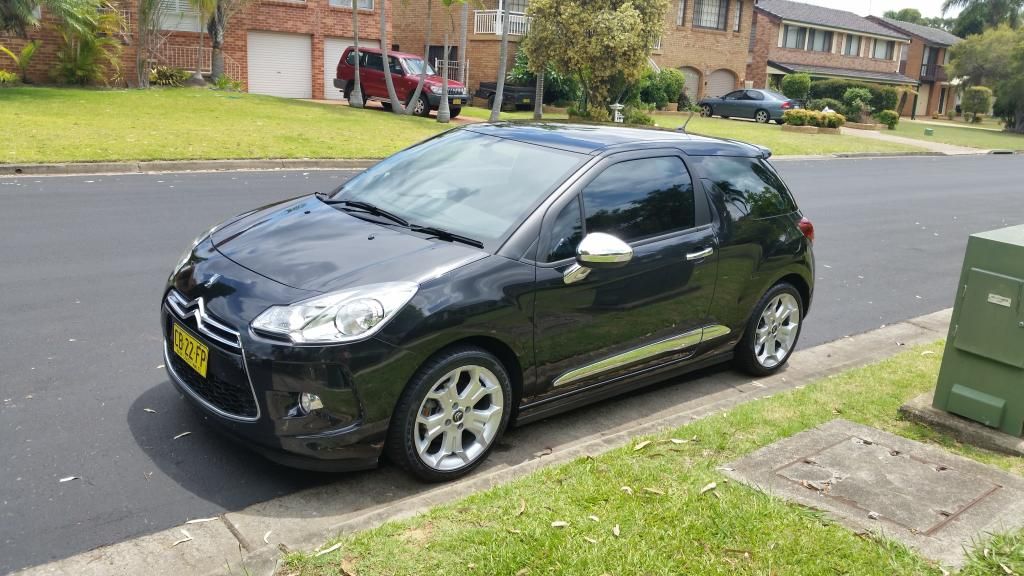
    I have been hanging around here since I got my DS3 DSport and have a little list of things I wanted to do to it.

    No major plans but thought it would be nice to keep a build log for myself (and others).

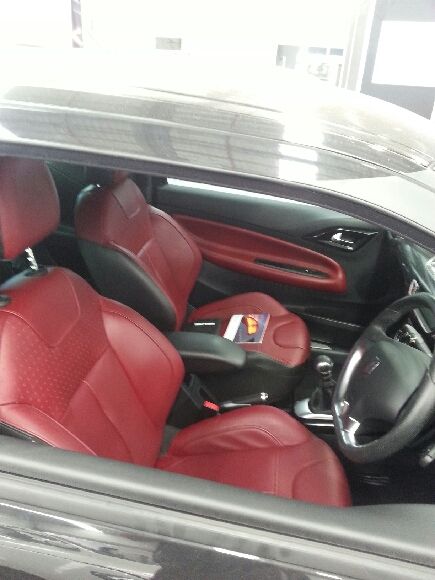
    Below are a few pictures of the car as it was when I purchased it, I will update as things are added.


    Completed:
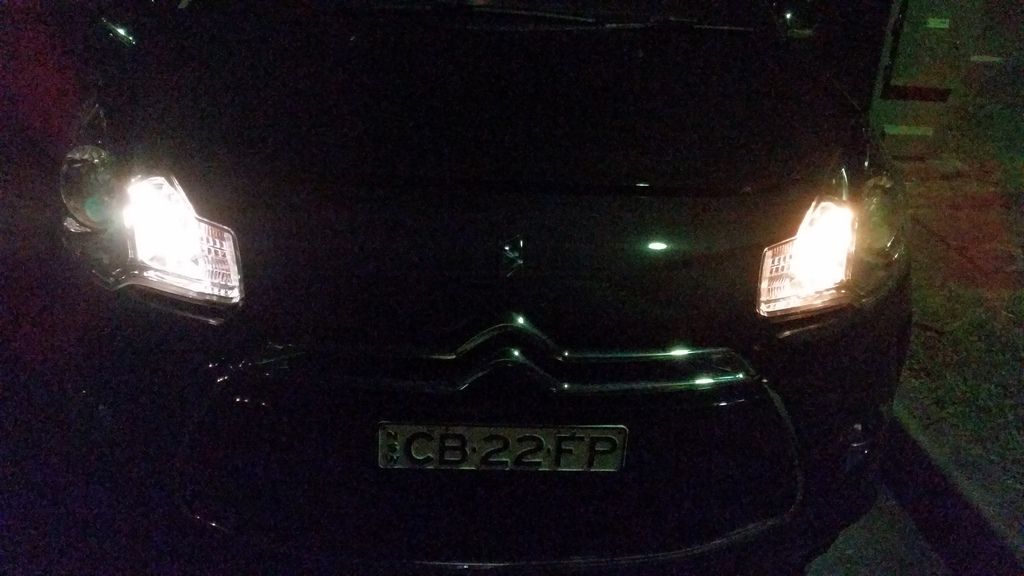
    - New headlight bulbs (Philips White Vision H7)
    - DRL on perm

    Planned:
    - New b/w plates
    - Minor sticker additions
    - Bit brighter red interior footwell lights
    - Wind deflectors
    - Car mats
    - Paint & sticker callipers
    - Dashcam
    - Upgraded stereo
    - Repair damaged side (missing skirt + bent up side body)


    I have obtained a couple of the above but will update with details when I have time and pics.
    Last edited by CPDS3; 18-10-2015, 22:05.

  • #2
    the red leather is brillant looking

    Comment


    • #3
      Originally posted by shifta View Post
      the red leather is brillant looking
      Thanks! deff one of my favourite features of the car!

      Comment


      • #4
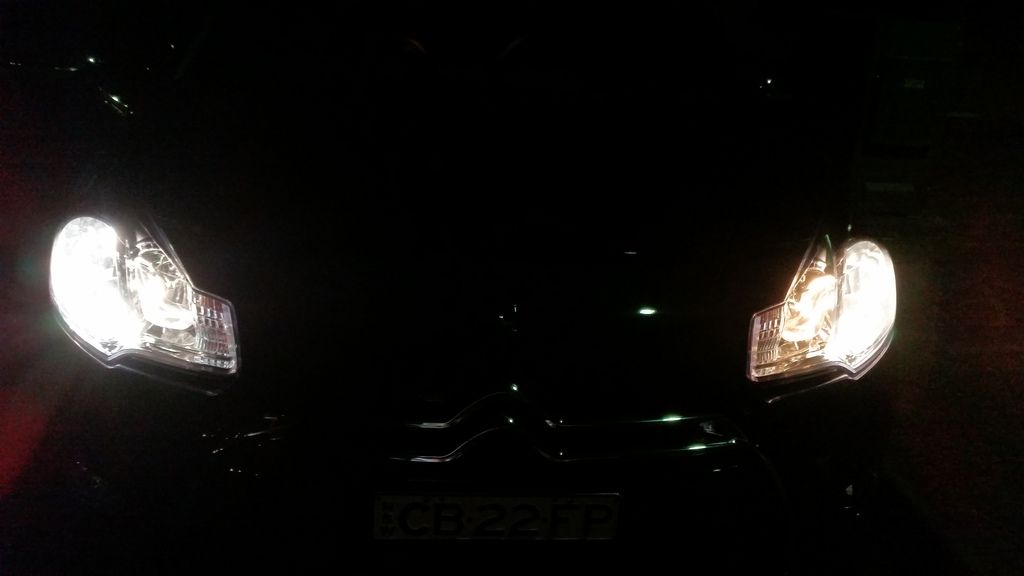
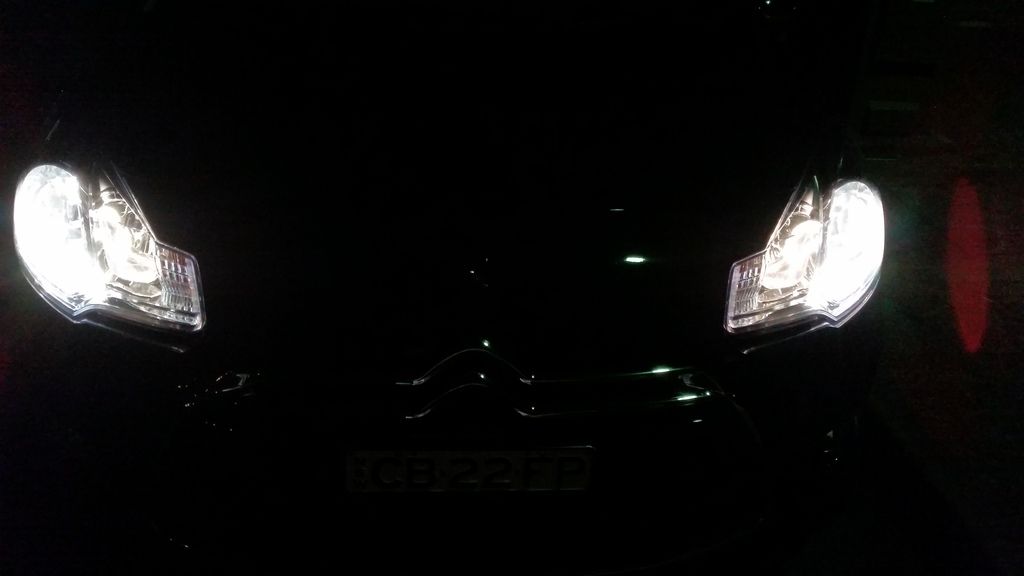
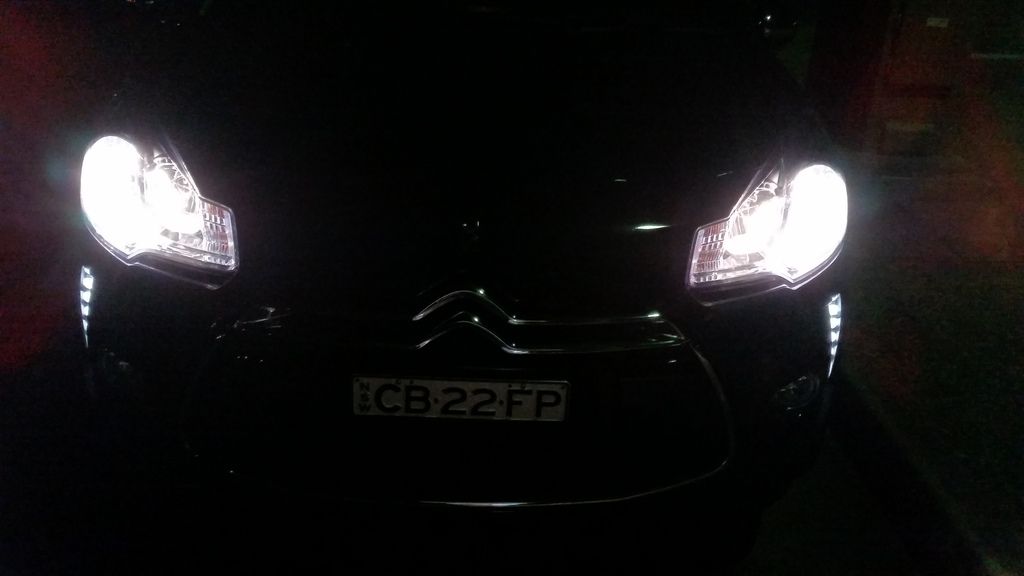
        OK so new bulbs installed - Philips White Vision H7 with sidelights.

        Side lights comparison to OEM


        Driving lights comparison to OEM


        Final


        Sorry for poor night quality phone pics

        Lights are a nice whiter tone and also brighter / better visibility.

        DRL also on perm, looks mean!
        Last edited by CPDS3; 17-04-2015, 06:45.

        Comment


        • #5
          How did you go about DRL's on permanently?

          Comment


          • #6
            Module or Programming
            Citroën DS³ // THP 155 // Body Ruby Red // Roof Moondust
            DS³R Speedometer // 19" OEM Cairns // KW V3 Coilovers

            Comment


            • #7
              Your popularity with the local police force may go up as well
              sigpic

              Comment


              • #8
                Got those bulbs in mine, they make such a difference. Best ones around.
                May 2011 - October 2015: White body/black roof/white Bellone THP150
                October 2015 - Present: Black body/emerald green roof/black Aphrodite THP165
                Instagram @adamds3

                Comment


                • #9
                  Originally posted by baz View Post
                  How did you go about DRL's on permanently?
                  All the info is here
                  My DS3R3... nearly....
                  New? Click HERE for some useful threads.

                  Comment


                  • #10
                    Originally posted by lfcrule1972 View Post
                    Your popularity with the local police force may go up as well
                    Not at all actually. When I first put it on it was to test if it bothered anyone. I've had no flashes from passers by and have been through a couple rbt at night and cops didn't even take a second look.... Every second car has DRLs on at night now so they can't pick it!

                    Comment


                    • #11
                      So I have previously posted some of my audio install in its own thread, but am going to put it here for my own record keeping my progress together.

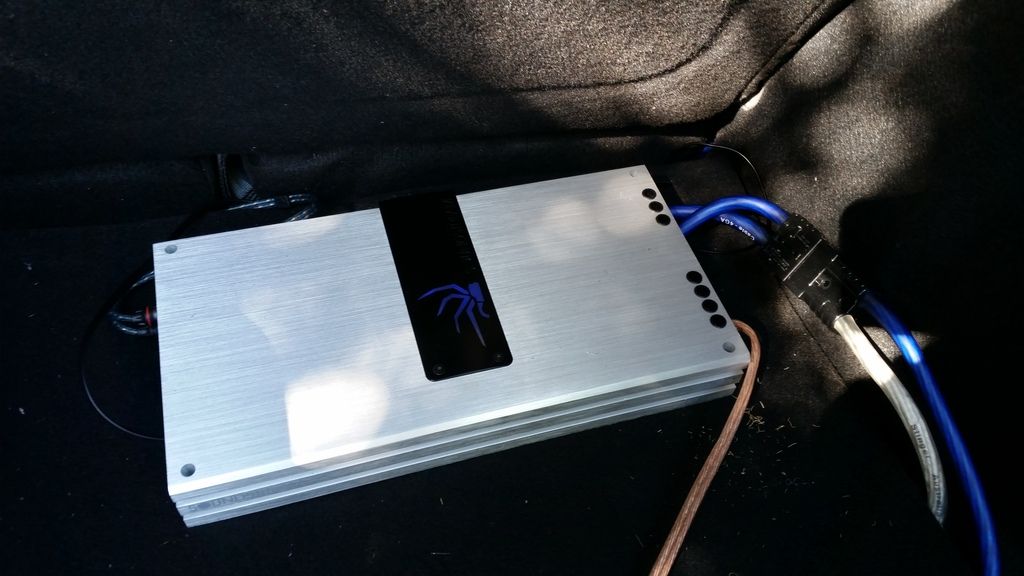
                      The components I have are:
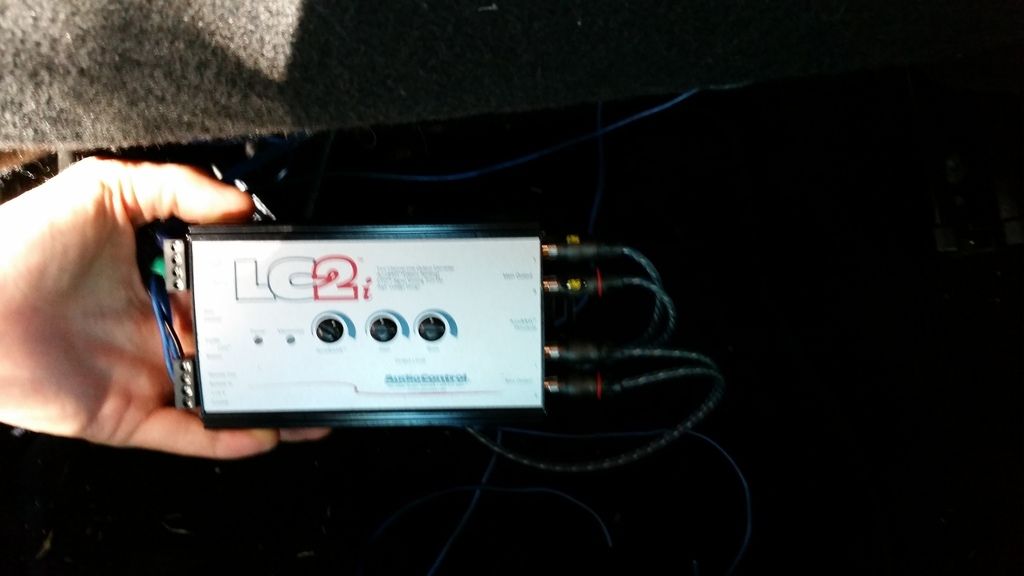
                      LOC- lc2i

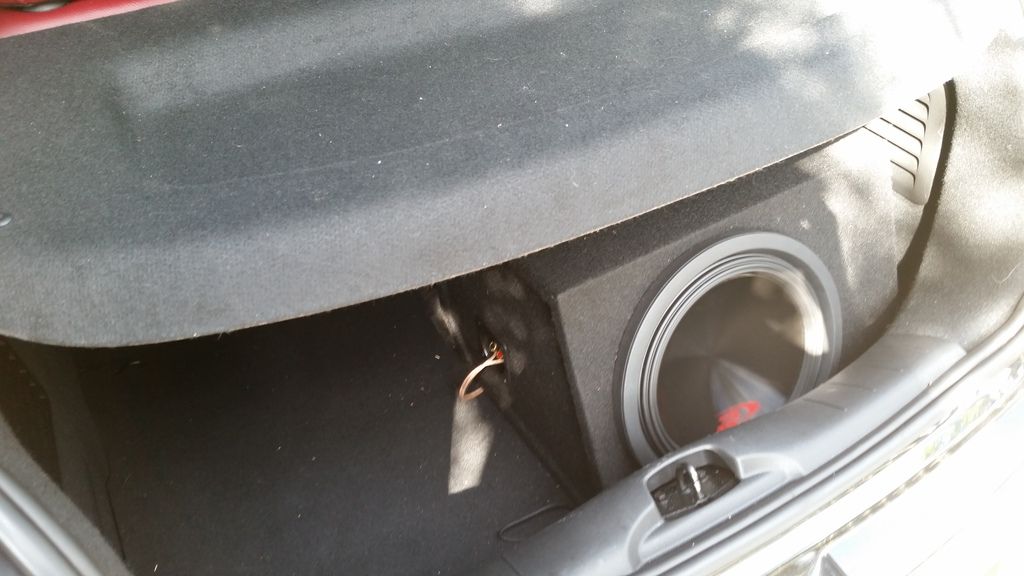
                      Sub - ALPINE SWR-12D4 1000wrms@1ohm
                      Soundstream TN1.1200D 1050wrms@1ohms
                      Sub enclosure

                      6.5" - Polk MM6501 6.5" 125wrms@2.7ohm
                      Amp2 - JVC KS-AX5102 150wrms@2ohms

                      wiring & sound deadening


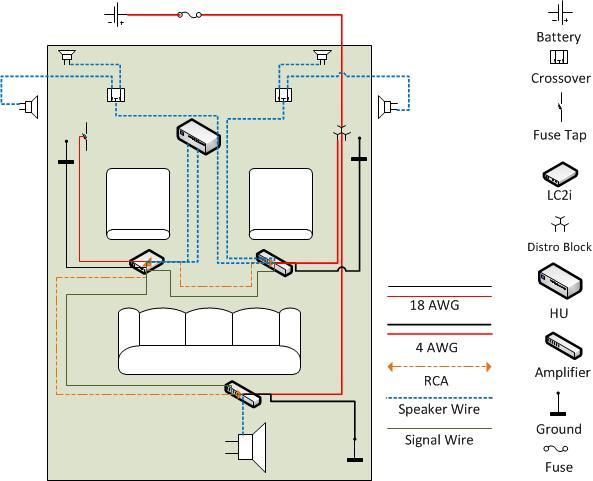
                      Wiring diagram I drew up:


                      By far the hardest part of the install was getting through the firewall. 4AWG is near impossible to get through the grommet in the top right of the drivers foot well. Spent a hell of a lot of time working on this with a drill being careful not to run into what already feeds through. Finally got it through but was unable to get the grommet all the way back in (but it is secured tightly).

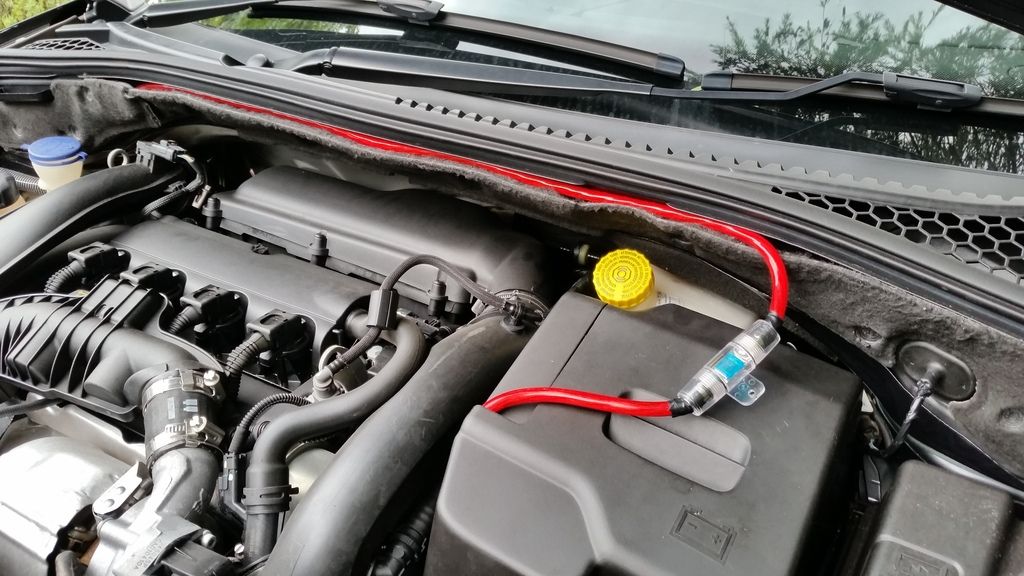
                      Once finally getting this through I fed it up to where I could reach it, fed it along the carpet liner in the engine bay, fixed my fuse holder and ring connector. Left this disconnected tucked up in the liner until install was wired up.


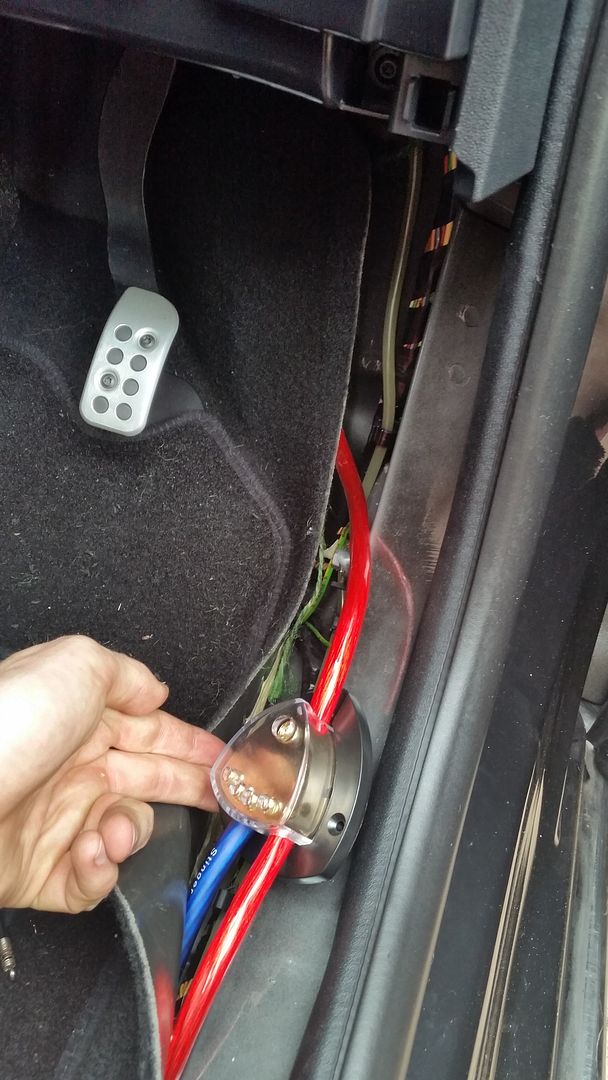
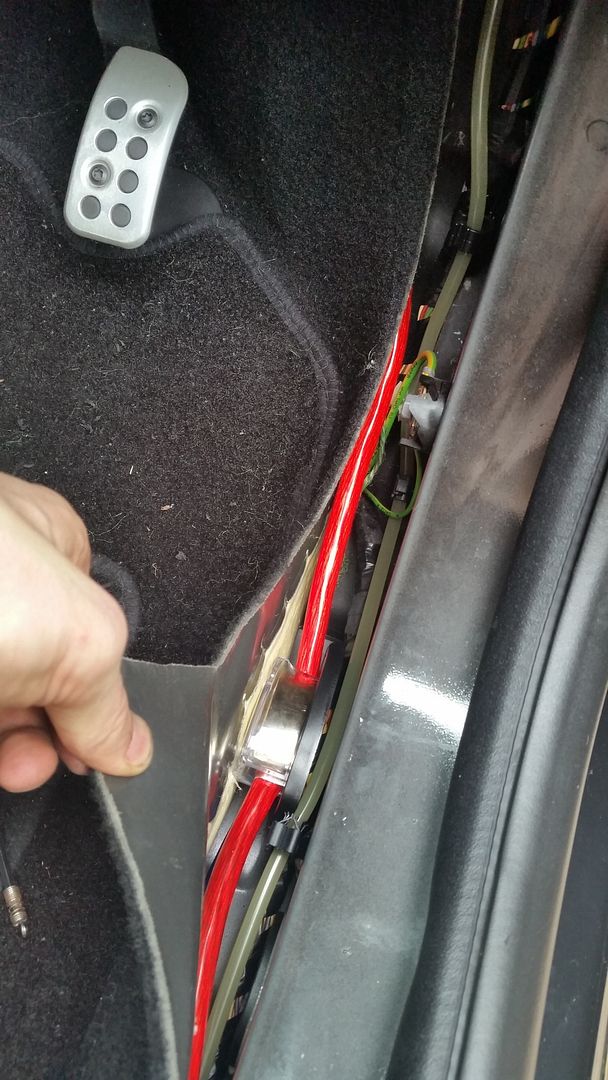
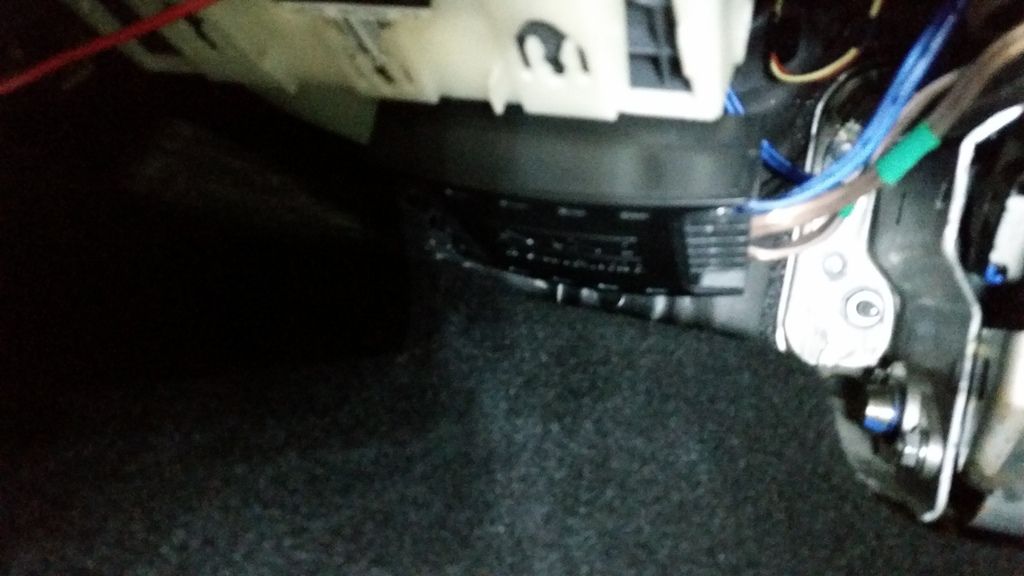
                      I found pretty much all panels in the DS3 come off quite easily! One of the easiest cars I have worked on in this regard. I took the plastic cover that runs down the side of the car and the kick panel that leads into the foot well (just by running fingers under and popping them off).

                      I ran the power cable into the footwell and then fed it into a distribution block to run to each of my 2 amps. This tucked nicely under the kick panel.


                      Then ran my power cable to my speaker amp under the drivers seat through the slit in the carpet (nice and discreet). I ran the other into the boot for the sub amp.

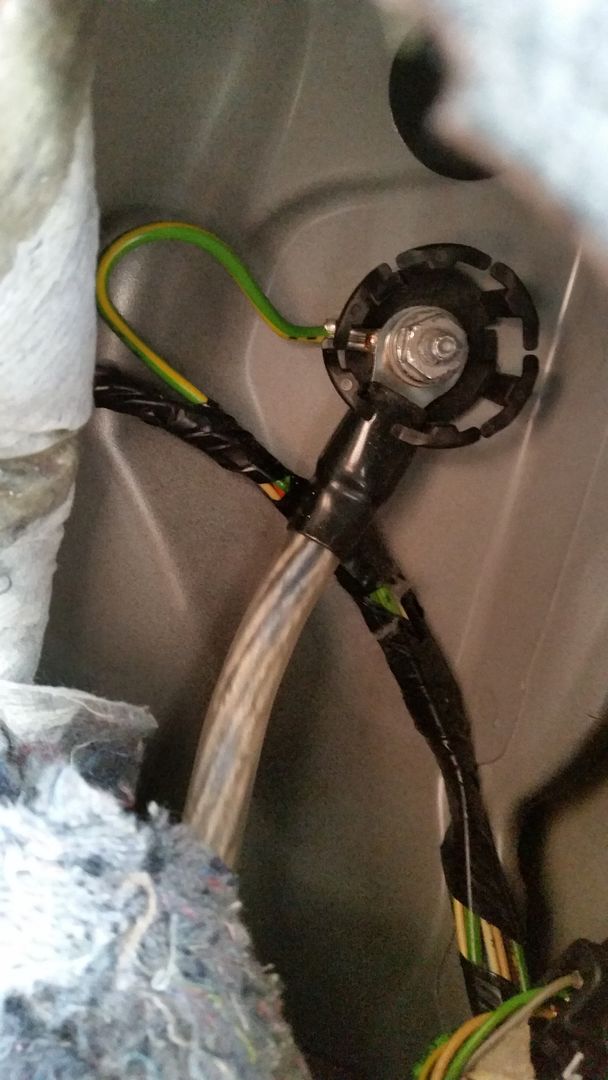
                      As you can see in my wiring diagram I ran the ground for my seat amp to the ground near my distro block (under the kick panel), and the one for my amp into the one in the boot (behind the tail lights). There is conveniently a ground point in all 4 corners of the car!


                      I decided to use Anderson style quick connectors for my amps so they can be easily removed, works great! can see the clips in the pic of my amp and the below is how you connect to the cable ( need to crimp & solder)


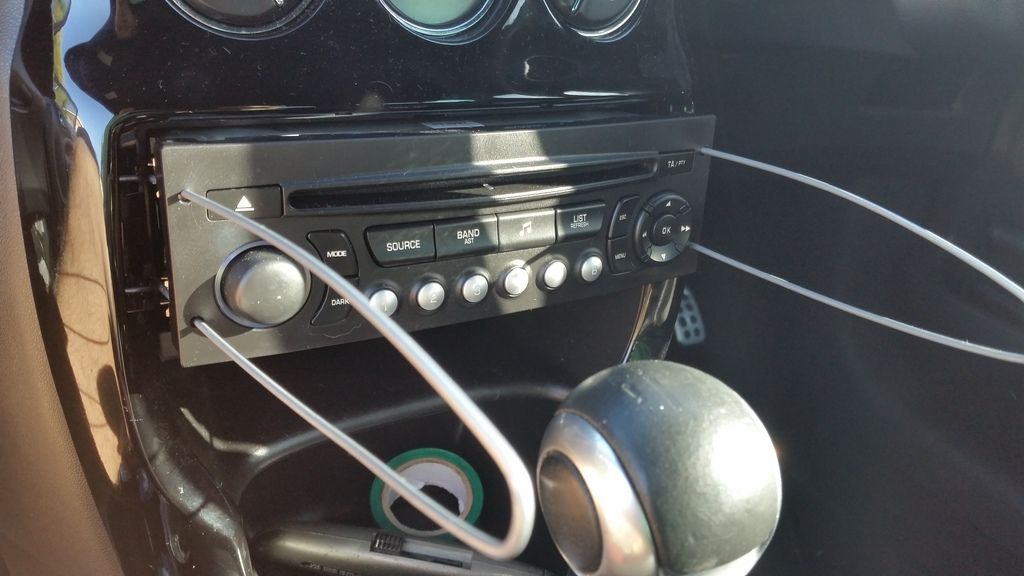
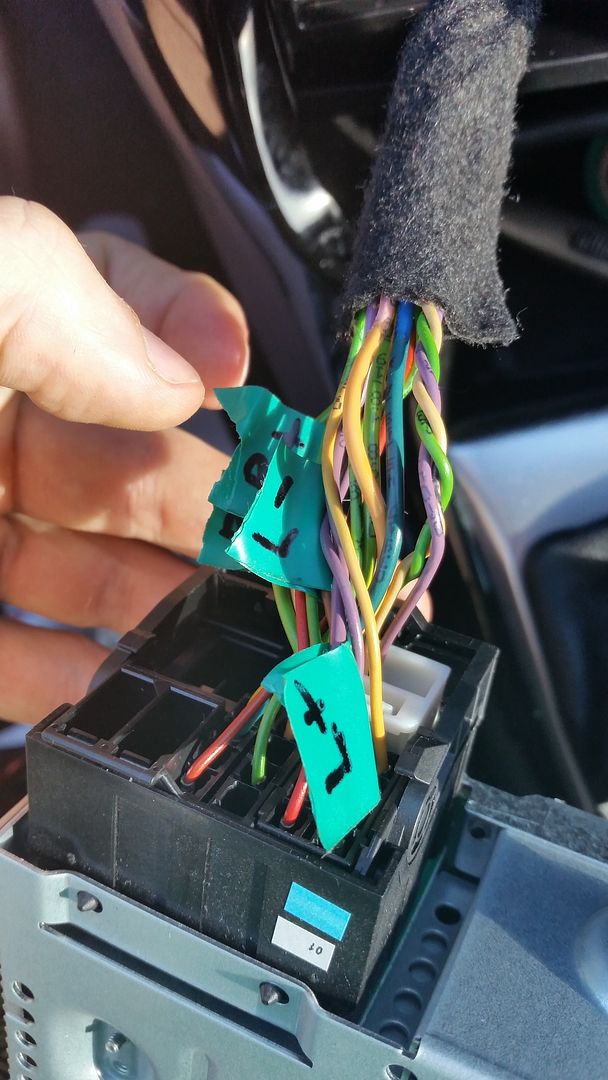
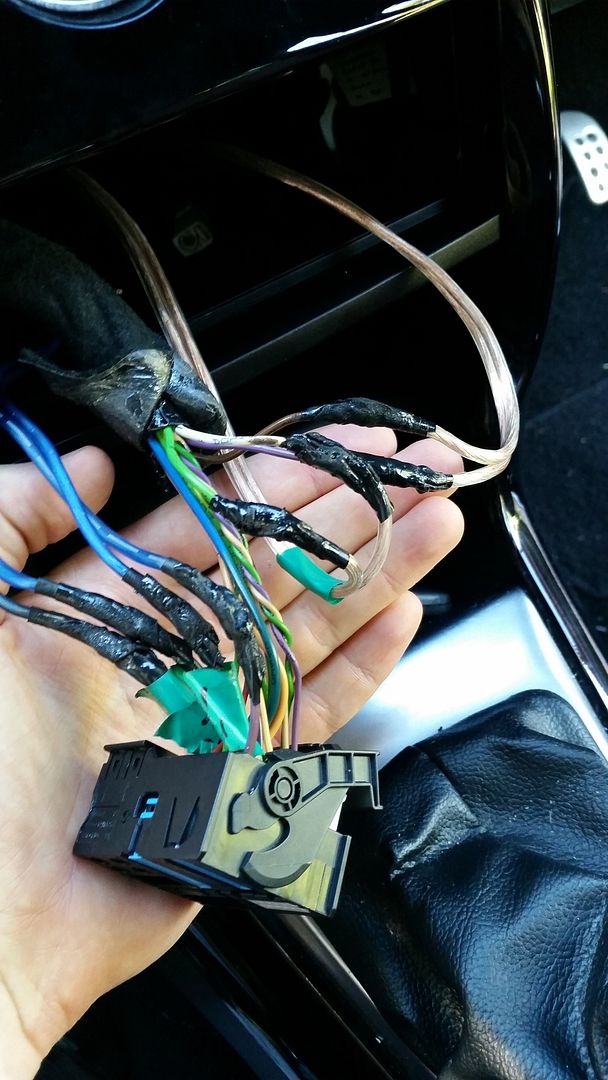
                      I used bent coat hangers to remove the HU. I then labelled, cut and spliced the wires from the back of the HU which lead to the front speakers and ran speaker cable down the back, down the left of the centre console and under the front passenger seat. I fed this into my line out converter (LOC) LC2i unit then ran some 18 AWG cable down the left side of the car and used a fuse tap to the fuse box in the glove box to feed it power. I used the ground in the LHS foot well for this.


                      Then I ran RCA & signal wire from the LC2i to the amp under the drivers by running to the centre console, around the back and under the other seat. Ran the others down the LHS of the car, under the carpet and into the boot.


                      I have a dual voice coil sub so wired it up in parallel and ran it to 1ohm as my amp is 1ohm stable. Drilled it into the box, hooked it up to the amp and the sub is in, cheering!
                      I ran a remote control dial for the sub down the side of the car and fixed it inside the little storage hole to the right of the steering wheel. This has proven to be a brilliant idea with this sub otherwise it vibrates your face off on every song! haha

                      I used industrial strength hook only adhesive velcro strips on the bottom of the amps and LC2i to keep them in place and not sliding all around the car. Works well, they're not going anywhere!


                      Then I ran speaker wire from the amp under the seat to my crossovers (down the centre console), which I put both into the passenger foot well. I couldn't find enough room to fit one nicely in the drivers side. I used 3m dual lock adhesive tape to fit these (kind of like velcro so I can remove and re attach). Hard to get pictures of where these went. I ran speaker wire from the crossovers to the wires I cut behind the HU, soldered and heat shrinked these all up.


                      I then removed the standard tweeters by popping the cover out of the dash and twisting to remove the tweeter. used pliers to disconnect the wires and remove the tweeters from the car (keeping original wiring just in the dash so it can be refitted. I ran new speaker wire from the crossovers to the tweeter hole and connected my new tweets up. I put my tweeters in the mounts which they came with and used the same adhesive (velcro like) lock tape to stick these down to the bottom under the covers in the dash. I decided to do it this way as it can be removed / replaced easier and they don’t sit too far below the cover anyway.

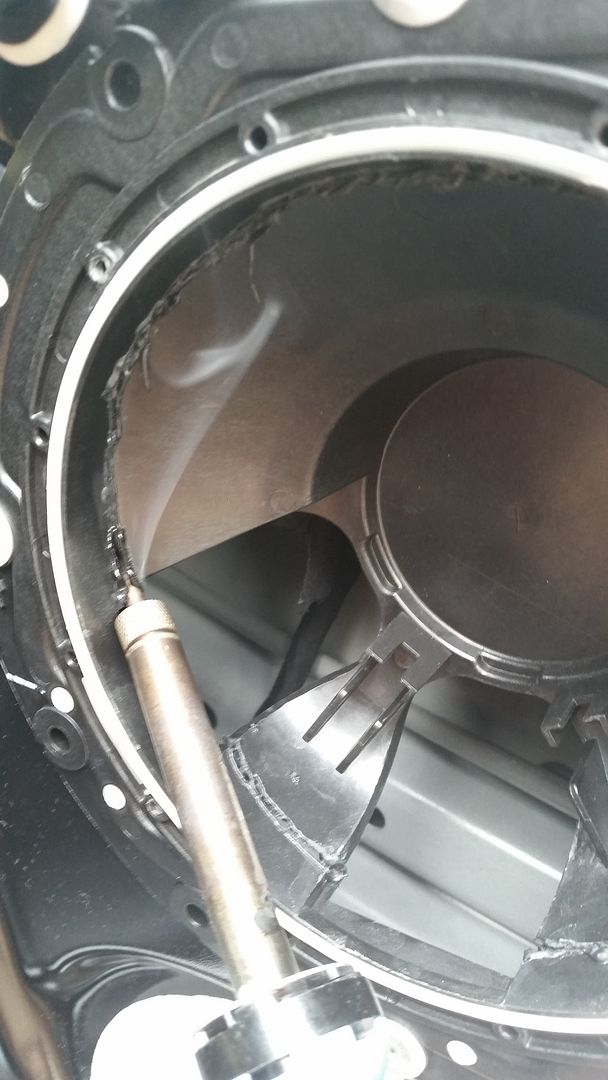
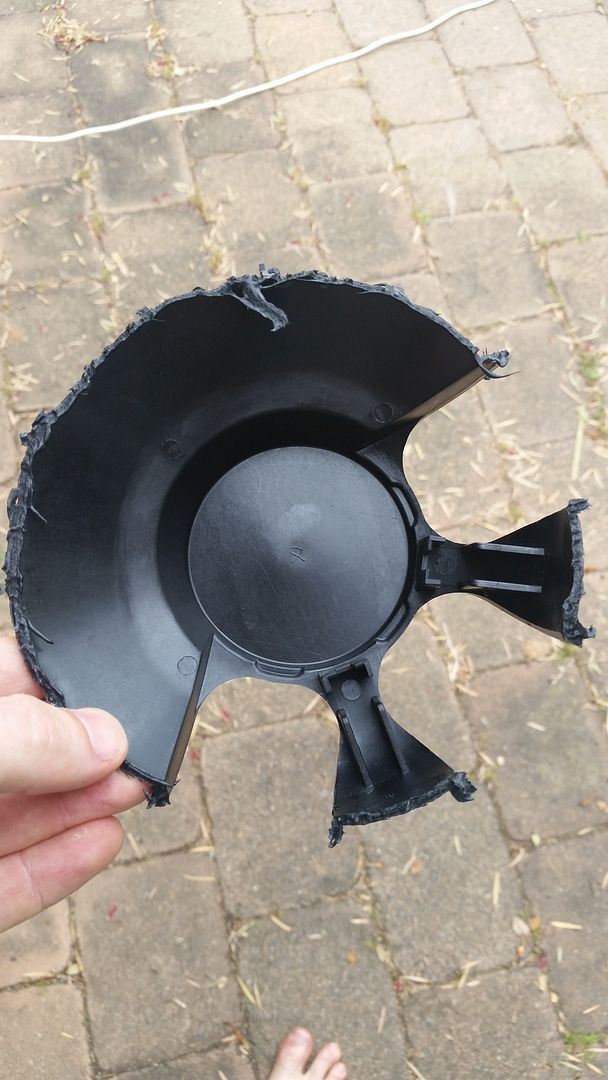
                      The front speakers did fit in using the adapter that came with them, but then found they sat too far forward with the movement in the woofers and hit the door card. I have now cut the back off the speaker casing to fit them in deeper.

                      I will post an update when I get time of how I cut the back off the casing and also my progress applying the sound deadening.
                      Last edited by CPDS3; 12-10-2015, 21:35.

                      Comment


                      • #12
                        Wow - busy time for you, well done
                        sigpic

                        Comment


                        • #13
                          Busy indeed! haha

                          So on the weekend I chose a nice 38°C day to work on my tan and fix the speakers in!

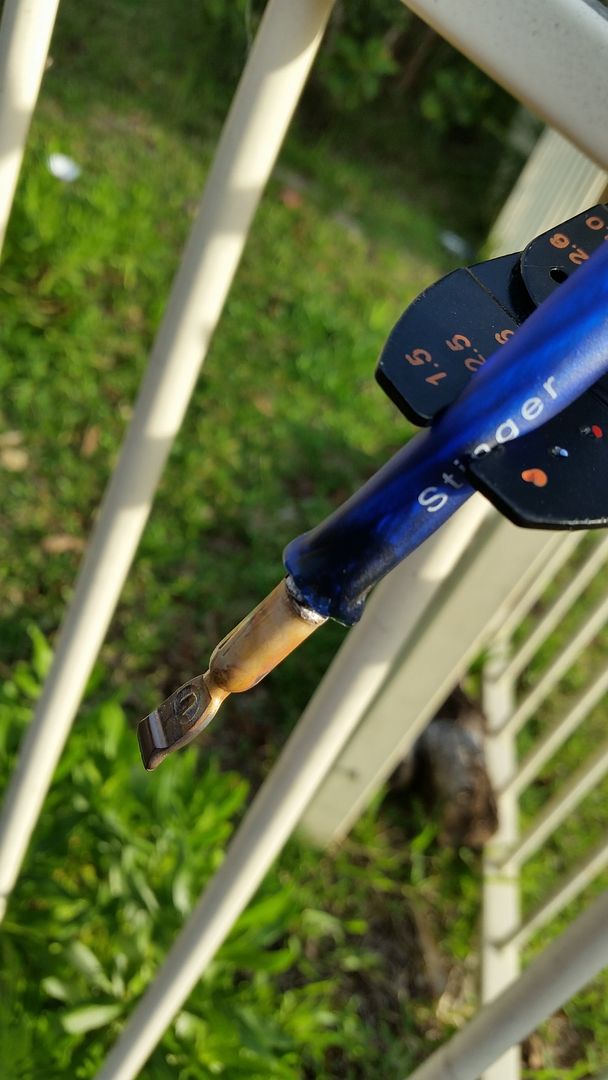
                          I was originally going to drill out the pop rivets that hold the speaker casing in, cut and refit.... but then came up with a much easier idea. I used an old cheap soldering iron I had and used it as a hot knife to cut around without the hassle of taking it off. Worked a treat! Just make sure you wear a mask if anyone is planning to do it, plastic fumes are probably not great for you.


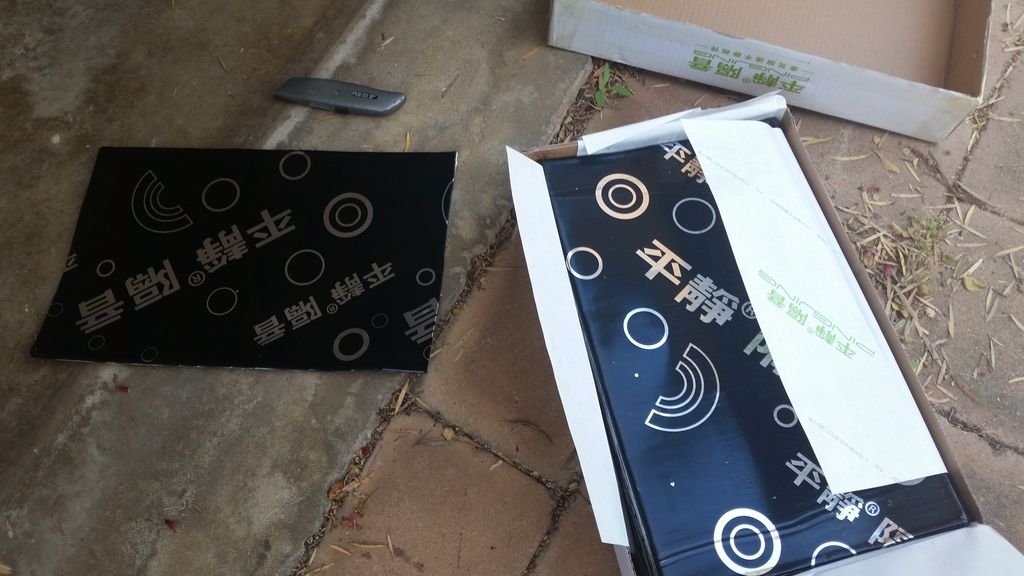
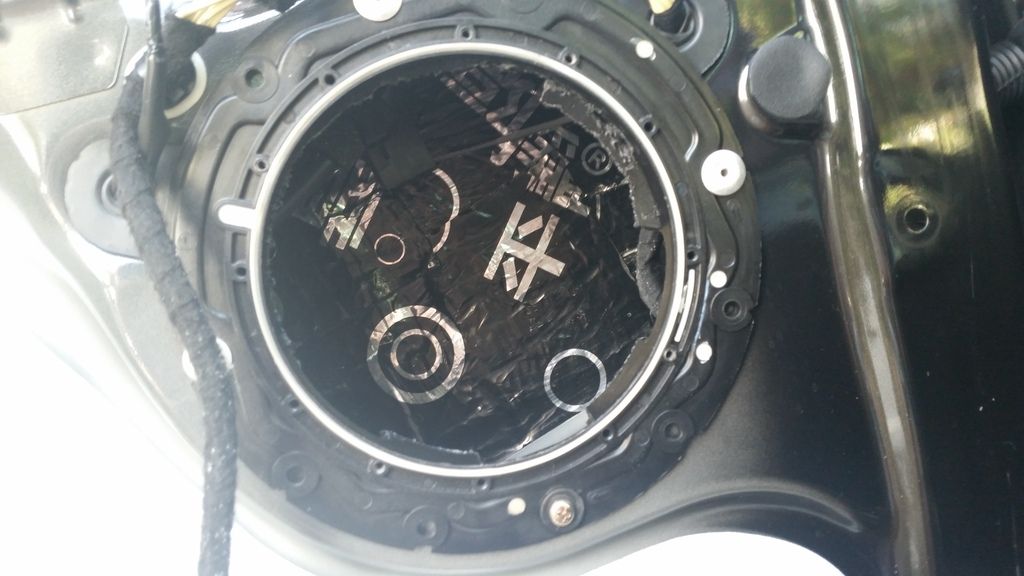
                          While I had the speaker out I put some sound deadening on the outer panel behind it.


                          I cleaned the panel with a rag and some Metho first. Then I cut the sheets to manageable sizes, heated with a hairdrier, stuck on and then pressed down using various tools (didn't have a roller).


                          I did clean the cut up a bit after this shot.

                          Speakers now sit flush & deadening behind stops a bit of reverb.

                          Next steps I plan to deaden inside and outside door panels and seal off access holes.

                          Comment

                          Working...
                          X